Welcome to DIY Gringa in Mexico… a truly DIY project if ever there was one.
Paint-staining… Part two of an ongoing project
(you try getting it all done in one sitting with two dogs and stuff in the way!)
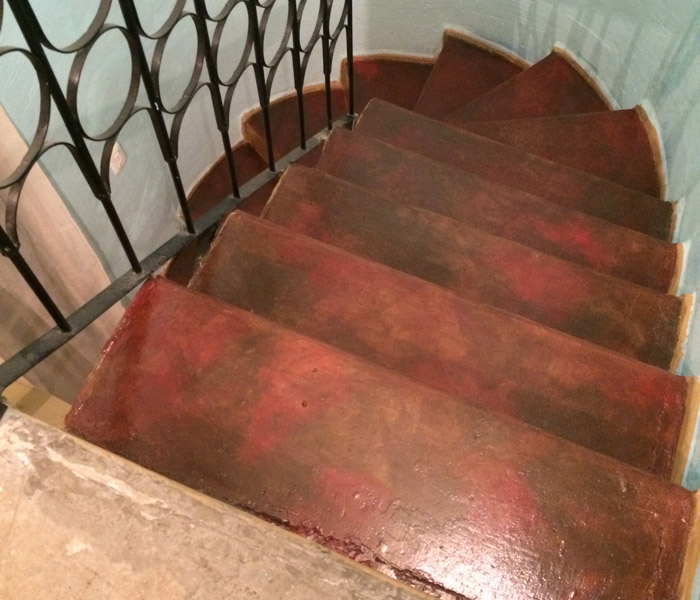
Thanks for stopping by. This is a followup post to what began as a project for my stairs. This previous post goes through the step-by-step instructions of my own version of painting/staining concrete. It will explain the how’s and why’s of what you see here. Enjoy!
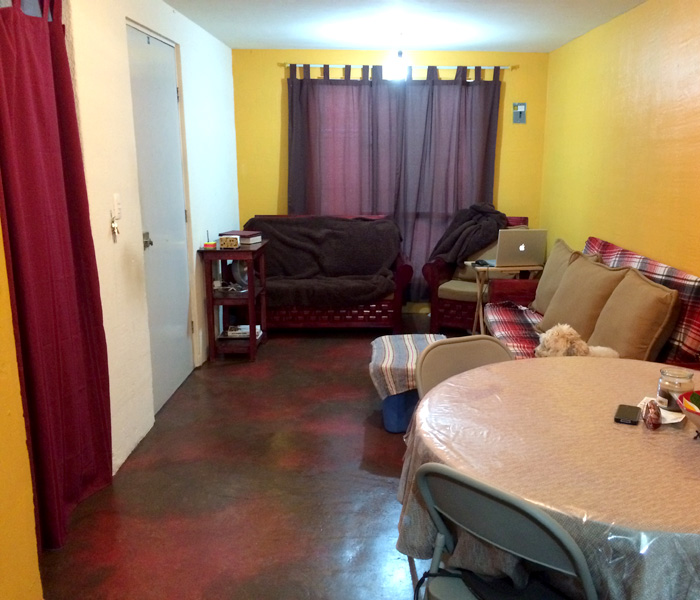
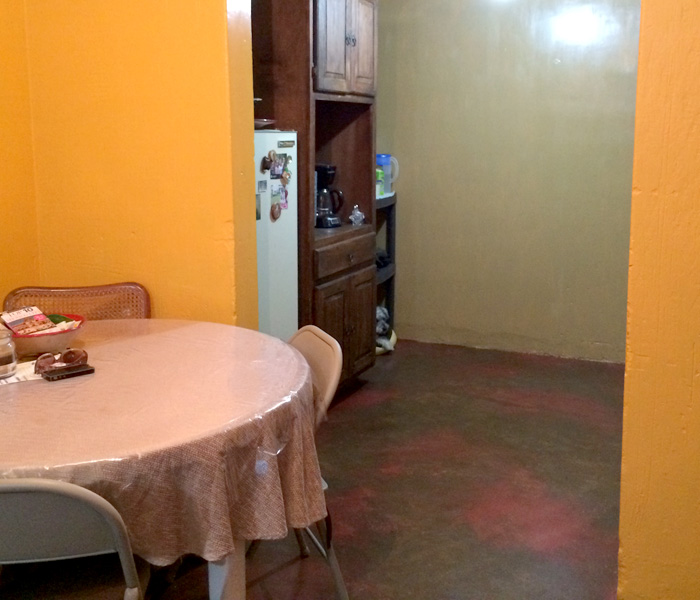
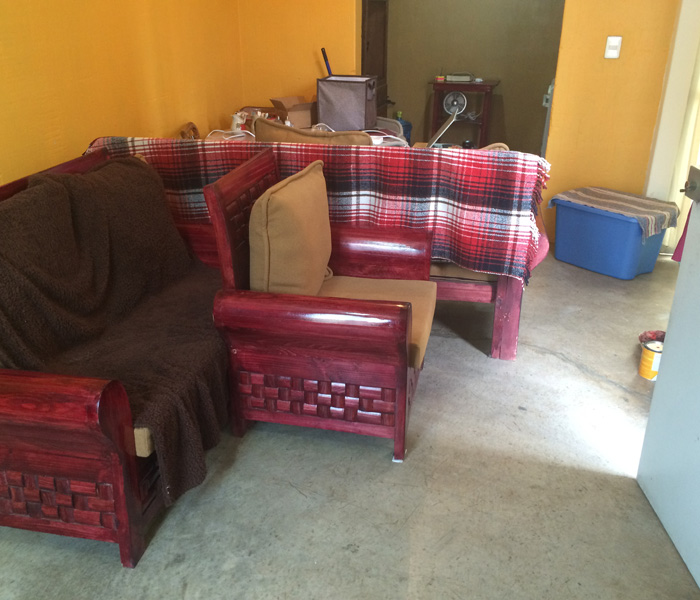
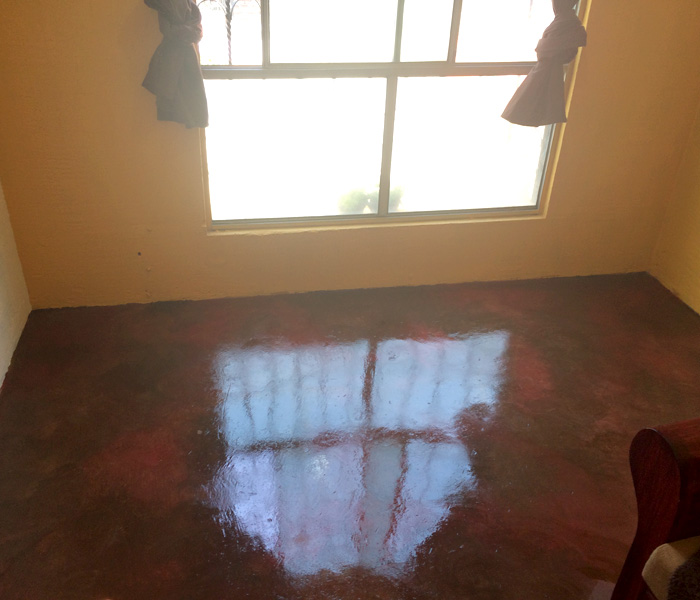
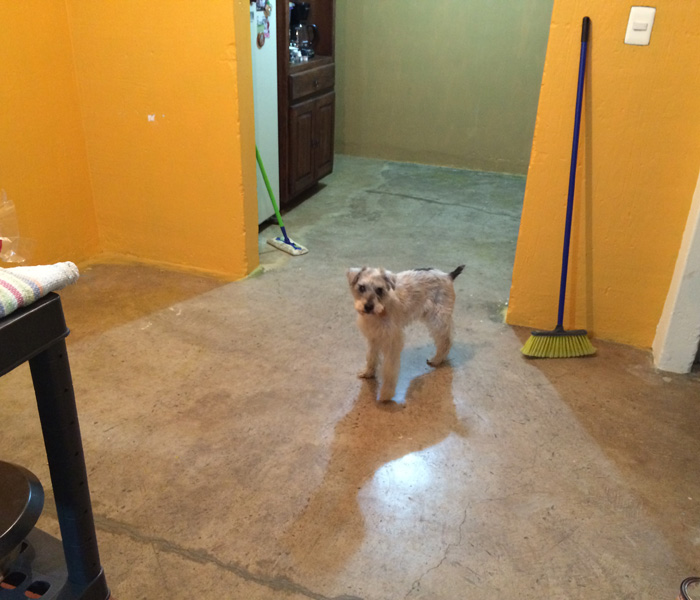
After you read the previous post, you will understand this one a little better… so I will not be redundant and post the same information here. My downstairs area consists of the kitchen and living room. I guess you could say dining area too, there isn’t much else to talk about on that. The photos show the amount of room we are talking about here.
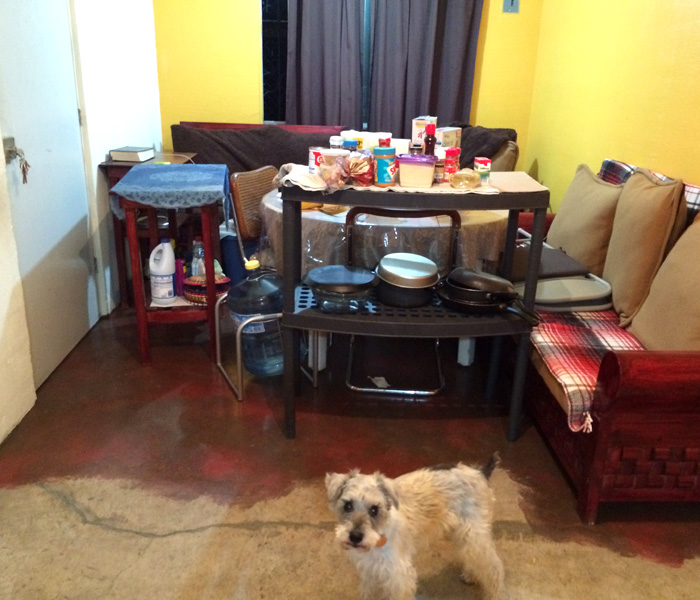
Now, because I have two dogs and nowhere to store the furniture while I work (and I am not taking it all upstairs!), I have to work in sections. Not the most ideal way to do this, but you will see that I made the section divisions staggered so there would be no significant line divisions. I can’t tell you how much I wish I could have done it all at one time… I was so sick of the process by the time I was done it makes me wish I could have carried everything upstairs. BUT, I am really glad I got it all done and am very pleased with the finished product.
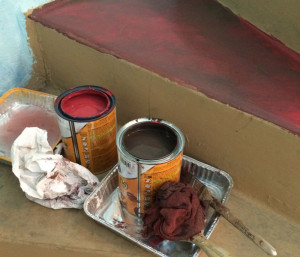
Remember our steps: Clean, paint, stain, seal.
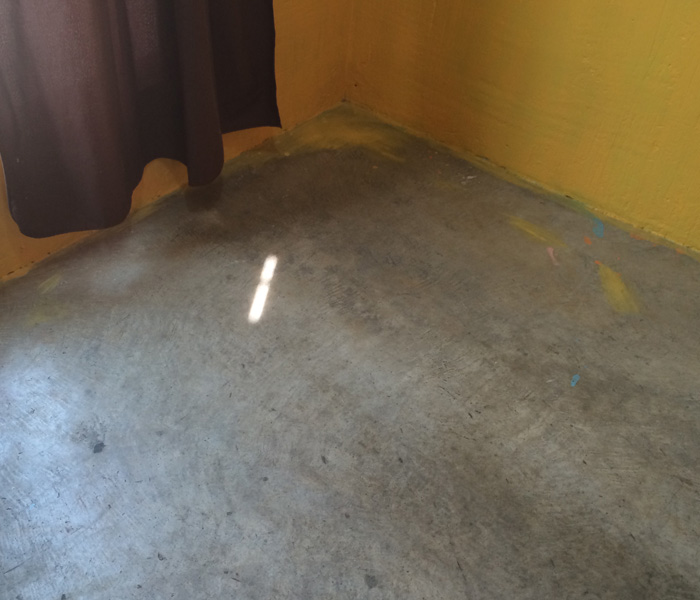
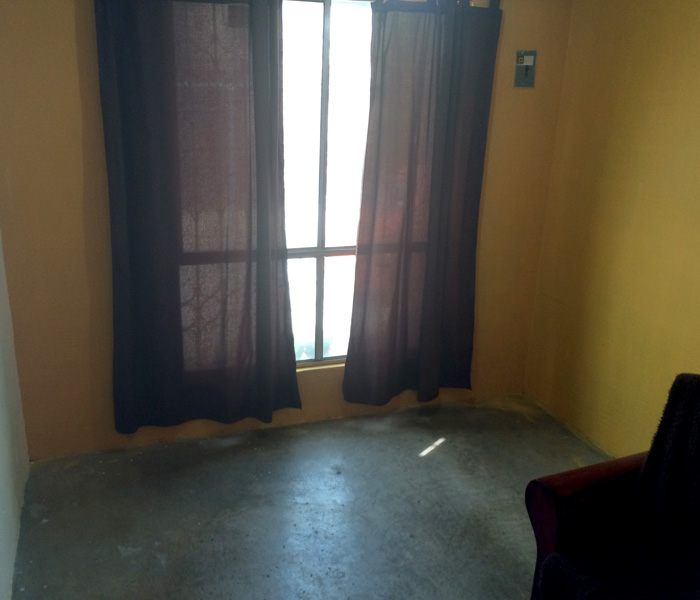
After I moved all the furniture out of the first section, I cleaned the floor and let it dry. I then began the same procedure I used for part 1… the stairs. You can click the images to make them larger.


Waiting!
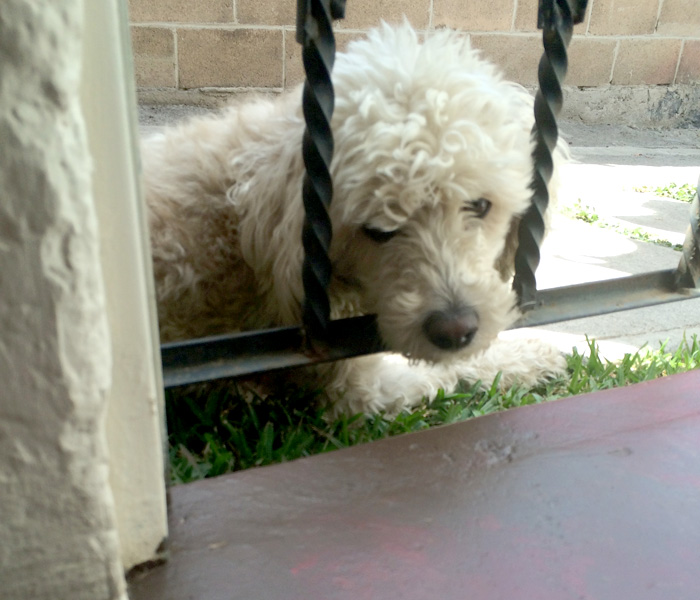
Now what? You guessed it! Let the paint dry. I would say at least two hours. I was a bit impatient, and only waited an hour. This required me to make a couple of touch ups because some spots “stuck” to my staining rag. But tiny tiny spots… so it wasn’t all bad… and again, I chalk it up to adding character. And just to show you one reason I was impatient, here is one of my dogs trying to be patient with me.
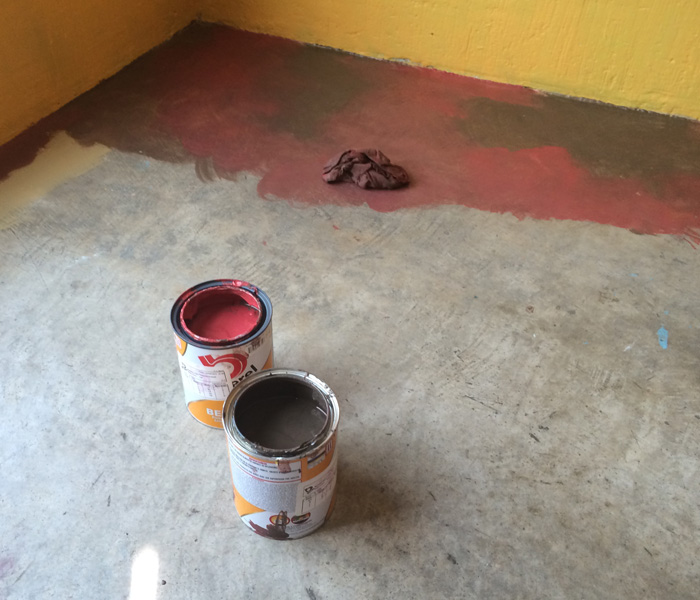
What to do about Overlap?
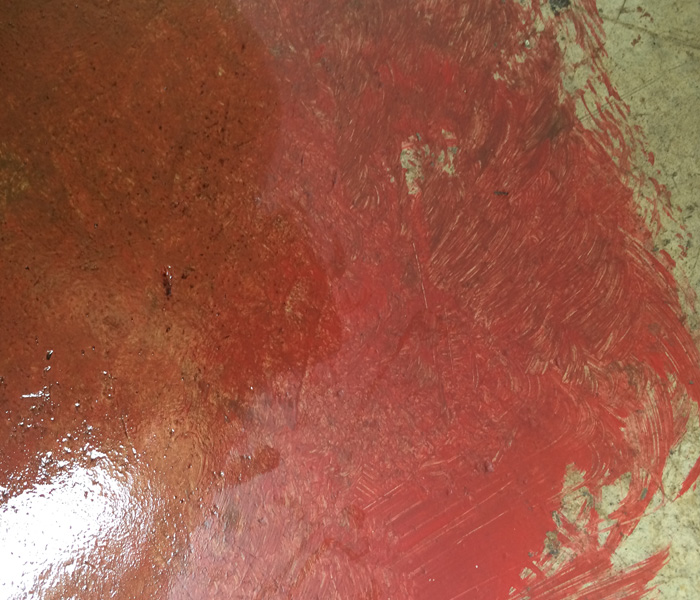
One thing I had to consider because I was working in sections was the overlap of each section. I did not take the stain all the way to the edge of the paint so that I could “blend” the meeting of sections without muddling up the overlap. I did the same with the sealer as well.
Then, of course I had to let it dry again. The stain takes the longest, so I let it dry overnight. Now, calculate this in your head. I did this in three sections (not counting the separate stair project). So, yes… I waited over night after each staining step. So… yes… it took 3 nights (4 days) of stuff everywhere, stain drying, and keeping the dogs off the floor.
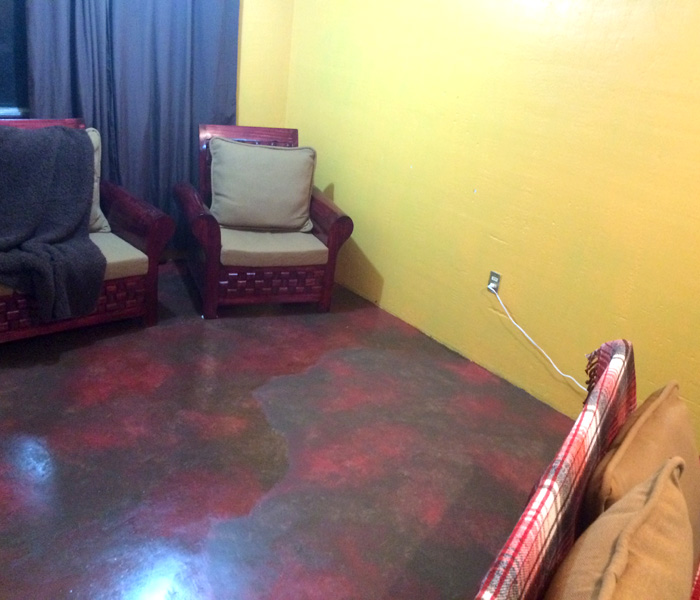
All Done!
Sort of at least. I still have some floors upstairs that need attention. But when I get around to those, I will add those photos to this post. Thank you for checking out my DIY Gringa in Mexico project! If you were stunned by my DIY abilities and craftiness… please share on Pinterest or your favorite social media outlet. And leave a comment below! I would love to hear your ideas and suggestions for future projects!