Natalie’s DIY Dresser Revival!
As a creative person…I love to see my kids follow suit.

Don’t you just love it when your kids do stuff that takes a creative mind? Well, I do…and I have to show off Natalie’s latest project. She took this dressers with her to college…and it rained on the way. Needless to say, I was not pleased, but it was still useable so she kept it. Here is her story about going about the revival of the dresser…
Natalie’s Dresser Project Explained:
This is my old dresser that I took to college and it rained on the way. Oops, right?
Supplies used:
- Medium-grit sand paper
- 3 paint brushes (one for primer and each color)
- 1 quart primer (optional)
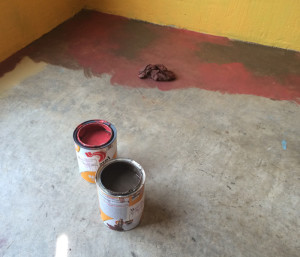
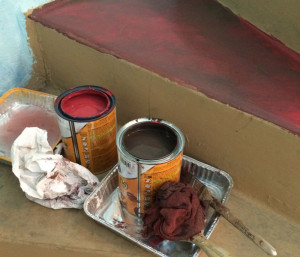
- 1 quart paint in each color – I used Night Safari (green) and Concert Hall (red)
- 1 tarp (to keep my patio clean)
- decorative knobs
Step 1:
Empty and remove drawers. Dust and wipe down dresser with a damp cloth and wait for it to dry.
Step 2:
Sand dresser to remove any glossy texture. Make sure to thoroughly clean all dust off the piece of furniture before proceeding to step 3
Step 3:
Coat with primer (I did 2 coats). This step may not be necessary. You can find paint with primer in it. I primed mine before I bought my paint (crazy I know) which ended up having primer in it. Although I don’t think it was necessary, the color took really well to the dresser and I assume that is because of the “double primer”. The paint can says to wait 2-4 hours before reapplying another coat. Who has time for that?? I waited no more than an hour and had no issues, but my dresser was outside in the sun which may have helped. I only had to apply to coats.
Step 4:
The drawers! I split this project up into two days. The main part of the dresser on day 1 and the drawers on day two.
Repeat steps 2 & 3 above. While I waited for primer and paint to dry I painted the sides of the drawer that will only be seen when drawer is pulled out. (This area did not need to be sanded). When painting is complete, let dry at least two hours before putting the knobs on.
Step 5:
Let drawers dry overnight before placing them back inside the dresser
Step 6:
Stand back and admire all your hard work! 🙂